A long time ago I was using a Heidelberg Topaz 2, and I was happy with it. Now, I have an Epson V330, which I use mainly for document scanning and text recognition. But it can also scan photos and films. Epson claims 4800 optical DPI... We all know that is a lie. At best, that thing can resolve maybe 1200DPI.
The sensors aren't great and quite noisy, the optics aren't great, and the stepping motor isn't great either... on top of that the Epson software plain sucks... Even when using a better software (I'm using Silverfast), the scan quality doesn't really change, but at least you can export 48bits raws, and the scanning process is much faster.
I could stick to 1200 DPI. That resolution is just below the apparent resolving power of this scanner. But if a 1600x1200 pixels scan is maybe good enough for instagram, it definitely is not for printing.
Therefore, I had to figure out a way to get the best out of this scanner.
With my scanner, I'm quite lucky: it's already perfectly focused. I don't have to adjust the neg height to have the scan in focus. Most people aren't that lucky with their flatbed scanner.
I can't fix the optics or make the step motor more accurate. The main issue with these optics and stepping motor is that each color channel is not perfectly aligned: the red, green and blue channels are slightly out of alignment following the sensor movement axis. The result is something that looks like chromatic aberration and blured image.
Fixing it in LR with the CA tool doesn't really help because it is not really "that" kind of lens CA. All you actually have to do is align those RGB channels. That will neutralize the pseudo CA, and slightly improve sharpness.
Fixing it in LR with the CA tool doesn't really help because it is not really "that" kind of lens CA. All you actually have to do is align those RGB channels. That will neutralize the pseudo CA, and slightly improve sharpness.
Now, the resolving power is not good, but that doesn't mean data isn't scanned. There is actually still a lot of sub pixel data waiting to be recovered. Stacking and averaging would do the job.
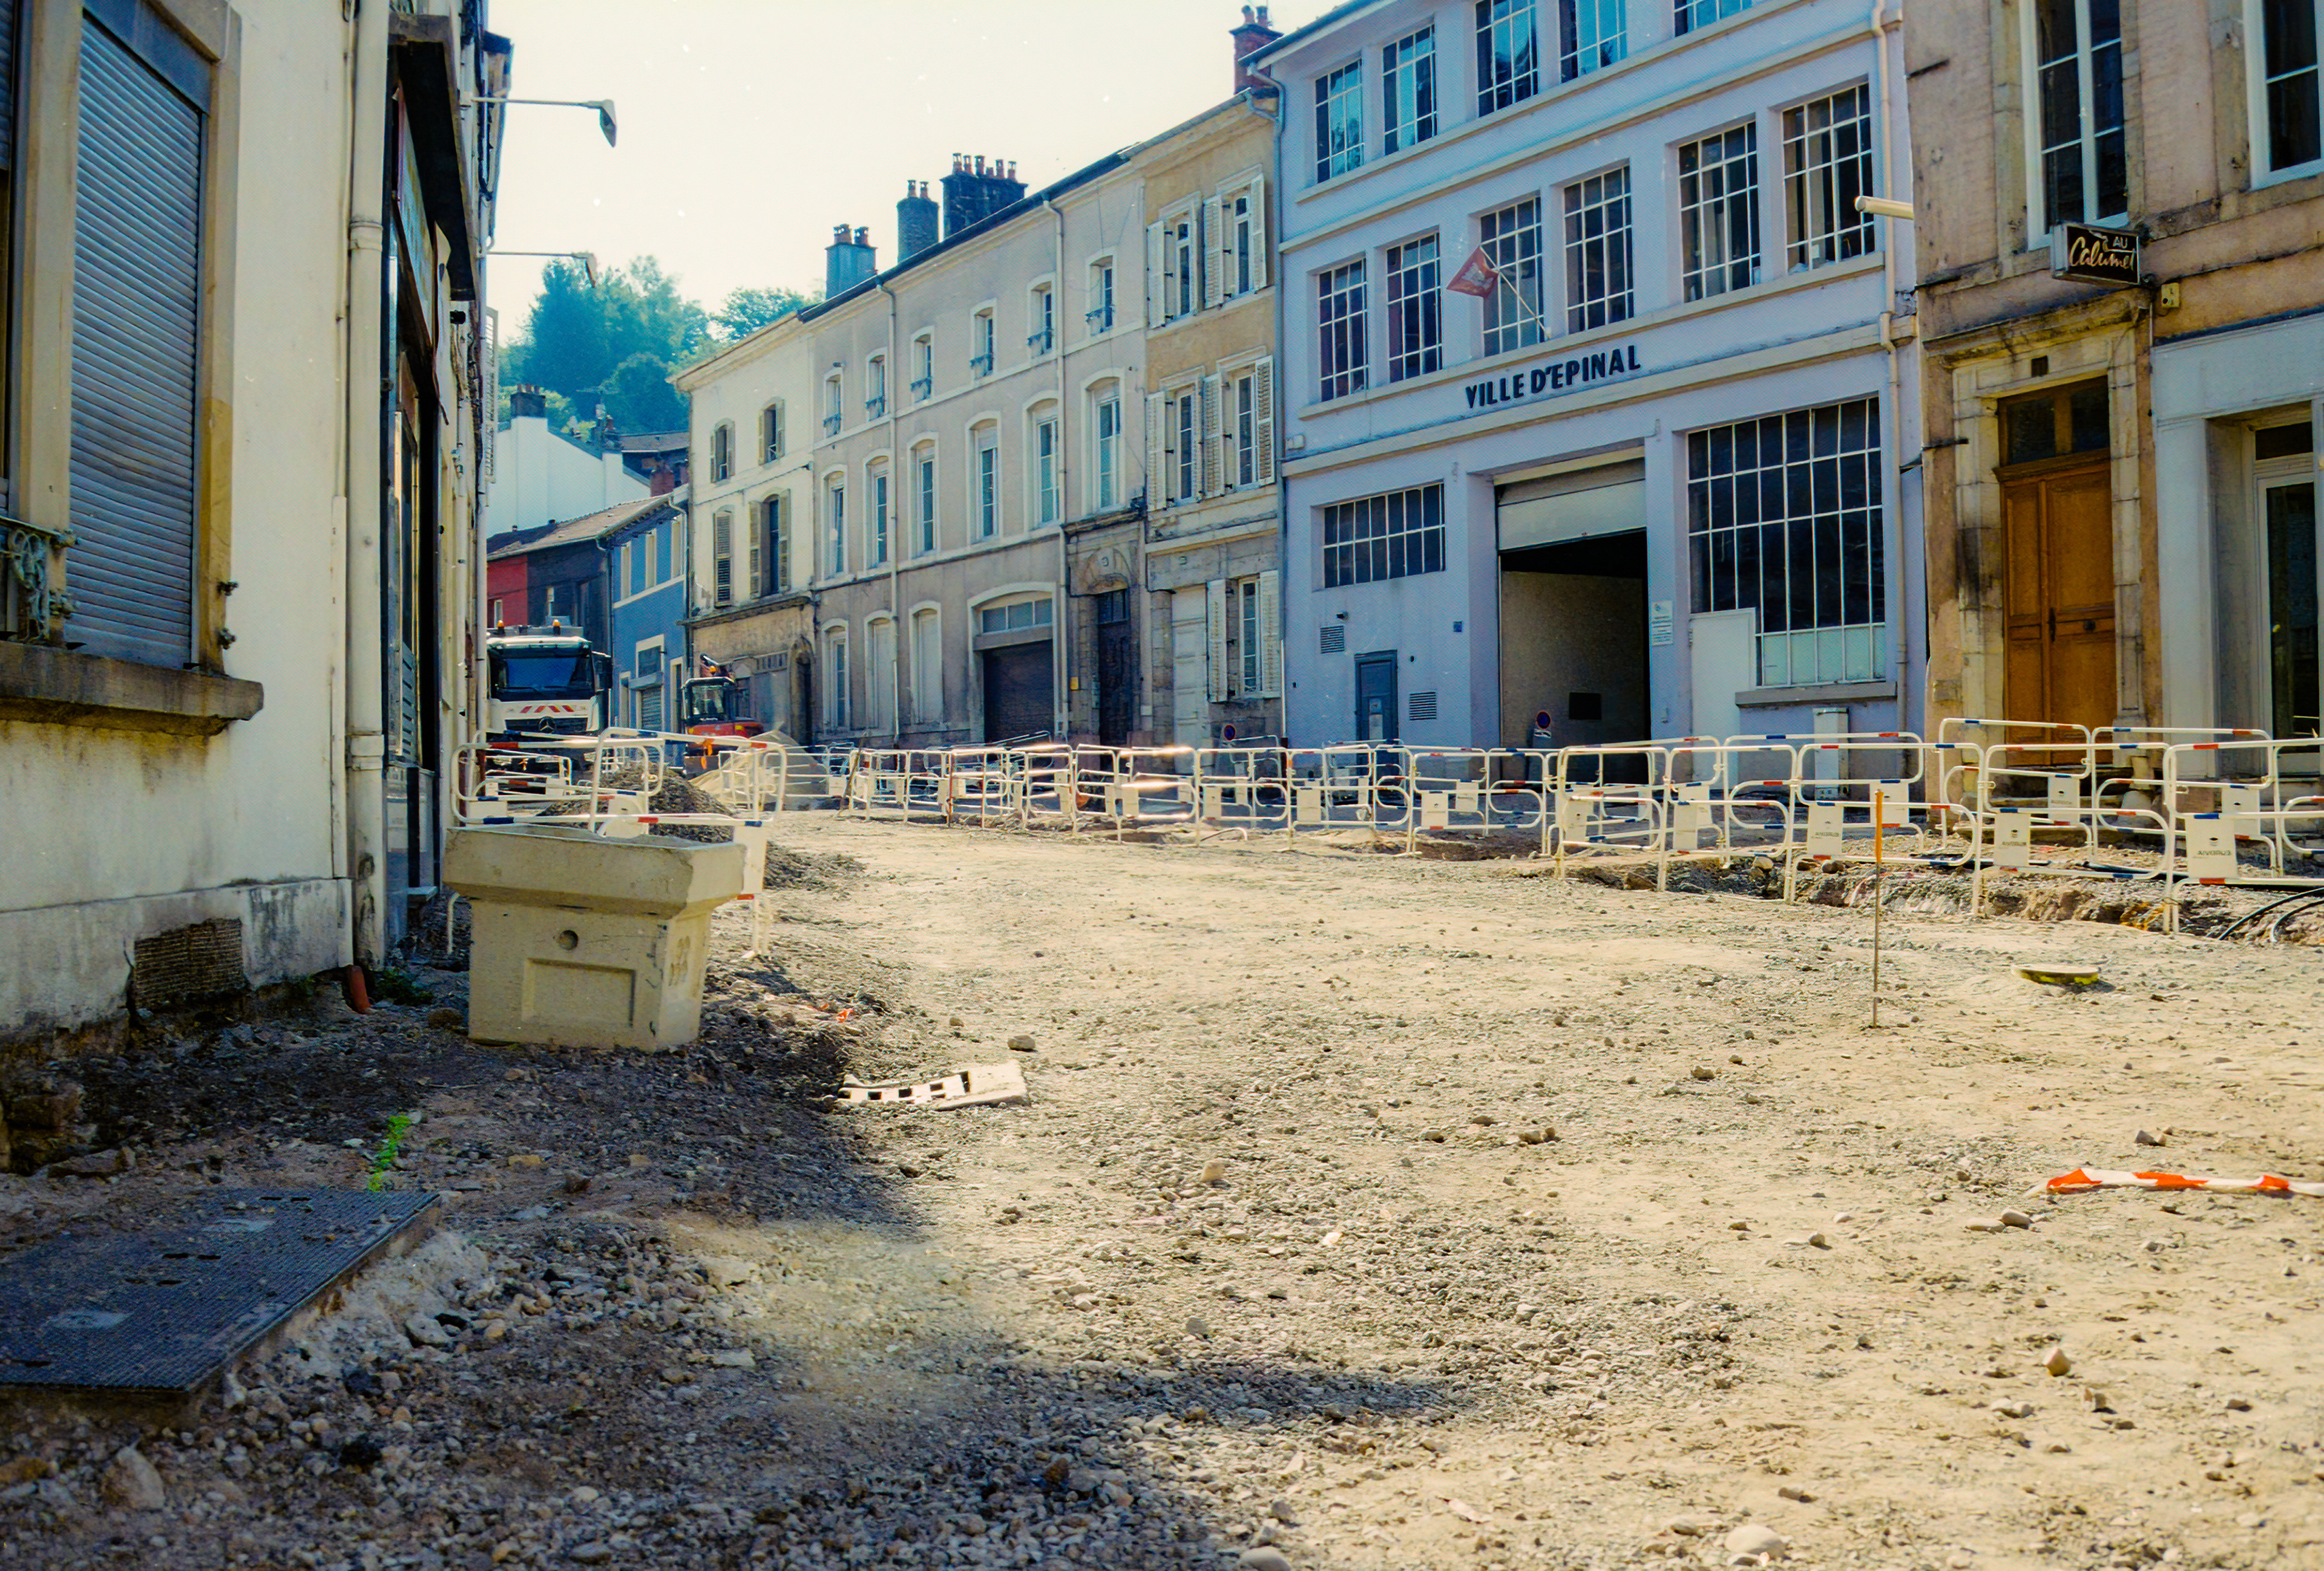
My process for now: In this example the film is Kodak UltraMax 400.
In this example I scanned 4 times the same crop of the neg, at 4800DPI, no postprocessing in silverfast, export to 48bits RAW.
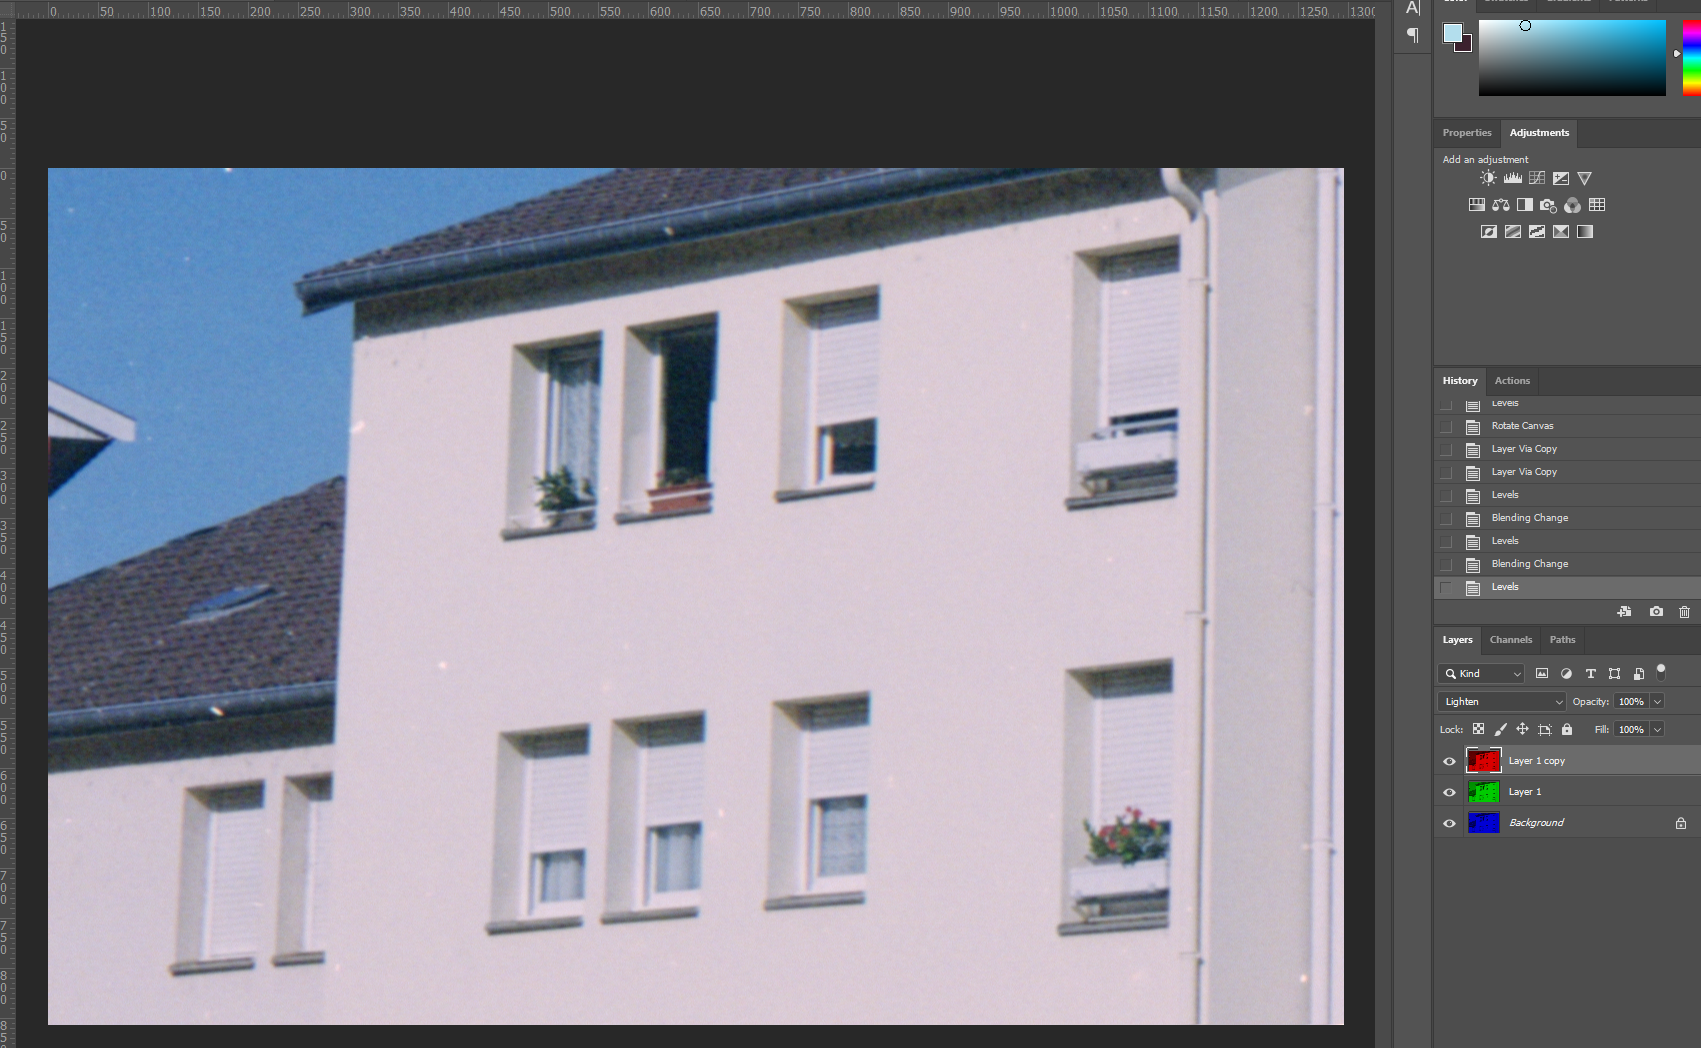
I opened each RAW in Photoshop. I made a small action:
- invert the neg,
- basic levels adjustments so I can see something on my screen,
- duplicate the base layer 2 times and turns each layer into a red, green and blue channel
- upscale the image x2 nearest neighbor
- apply unsharp mask on each layer (120% 89 pixels radius here)
- invert the neg,
- basic levels adjustments so I can see something on my screen,
- duplicate the base layer 2 times and turns each layer into a red, green and blue channel
- upscale the image x2 nearest neighbor
- apply unsharp mask on each layer (120% 89 pixels radius here)
Not very pretty:
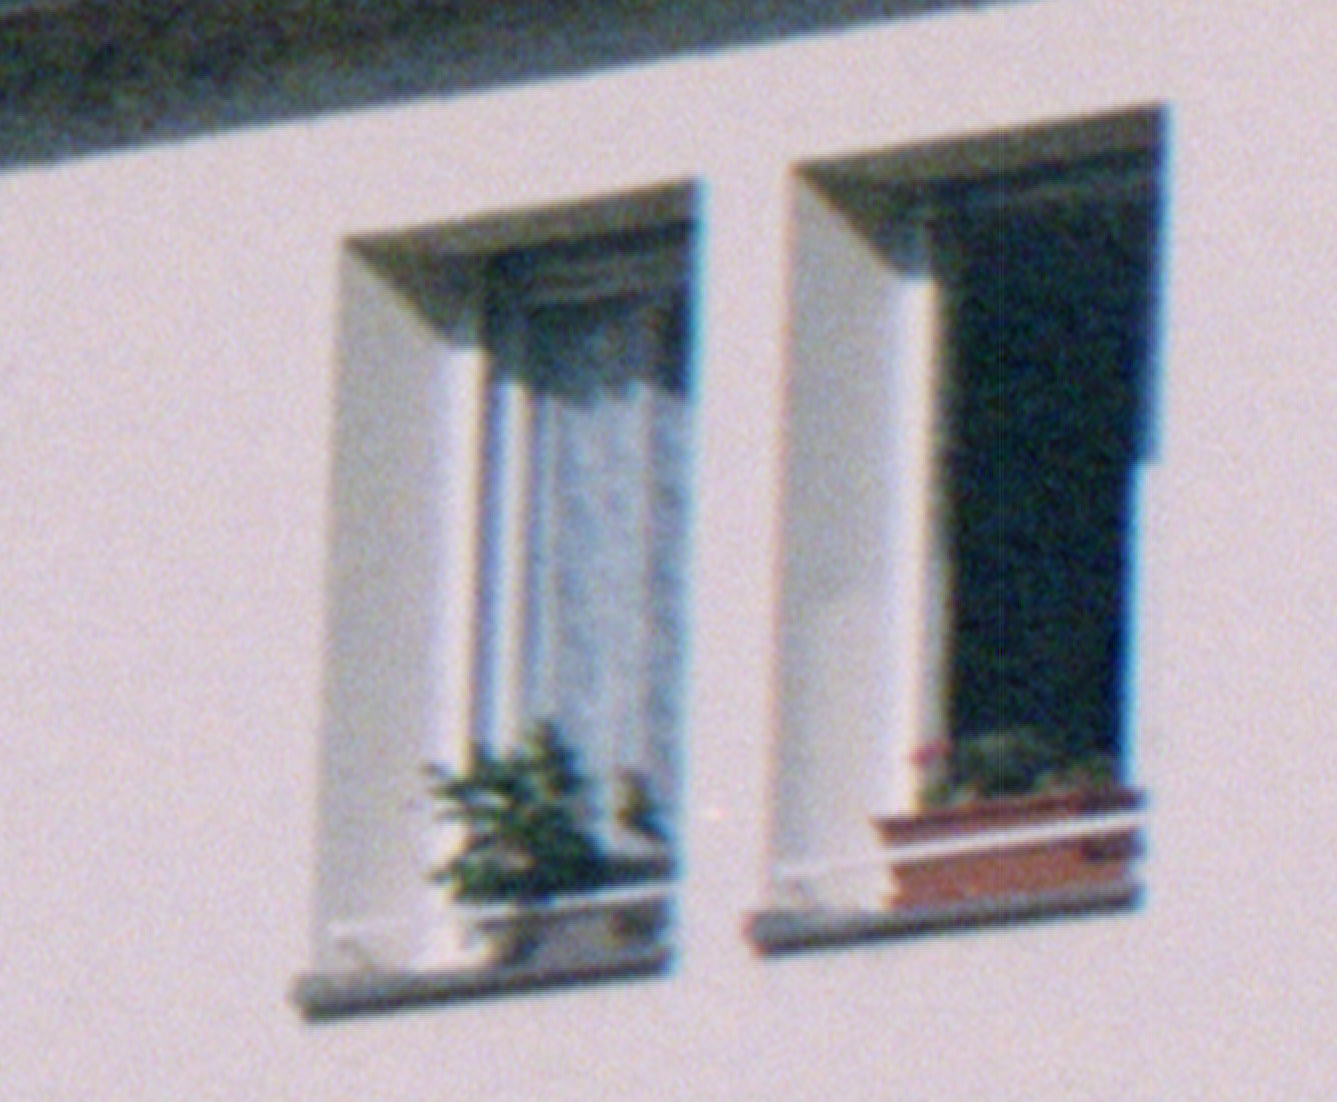
Hopefully it gets better.
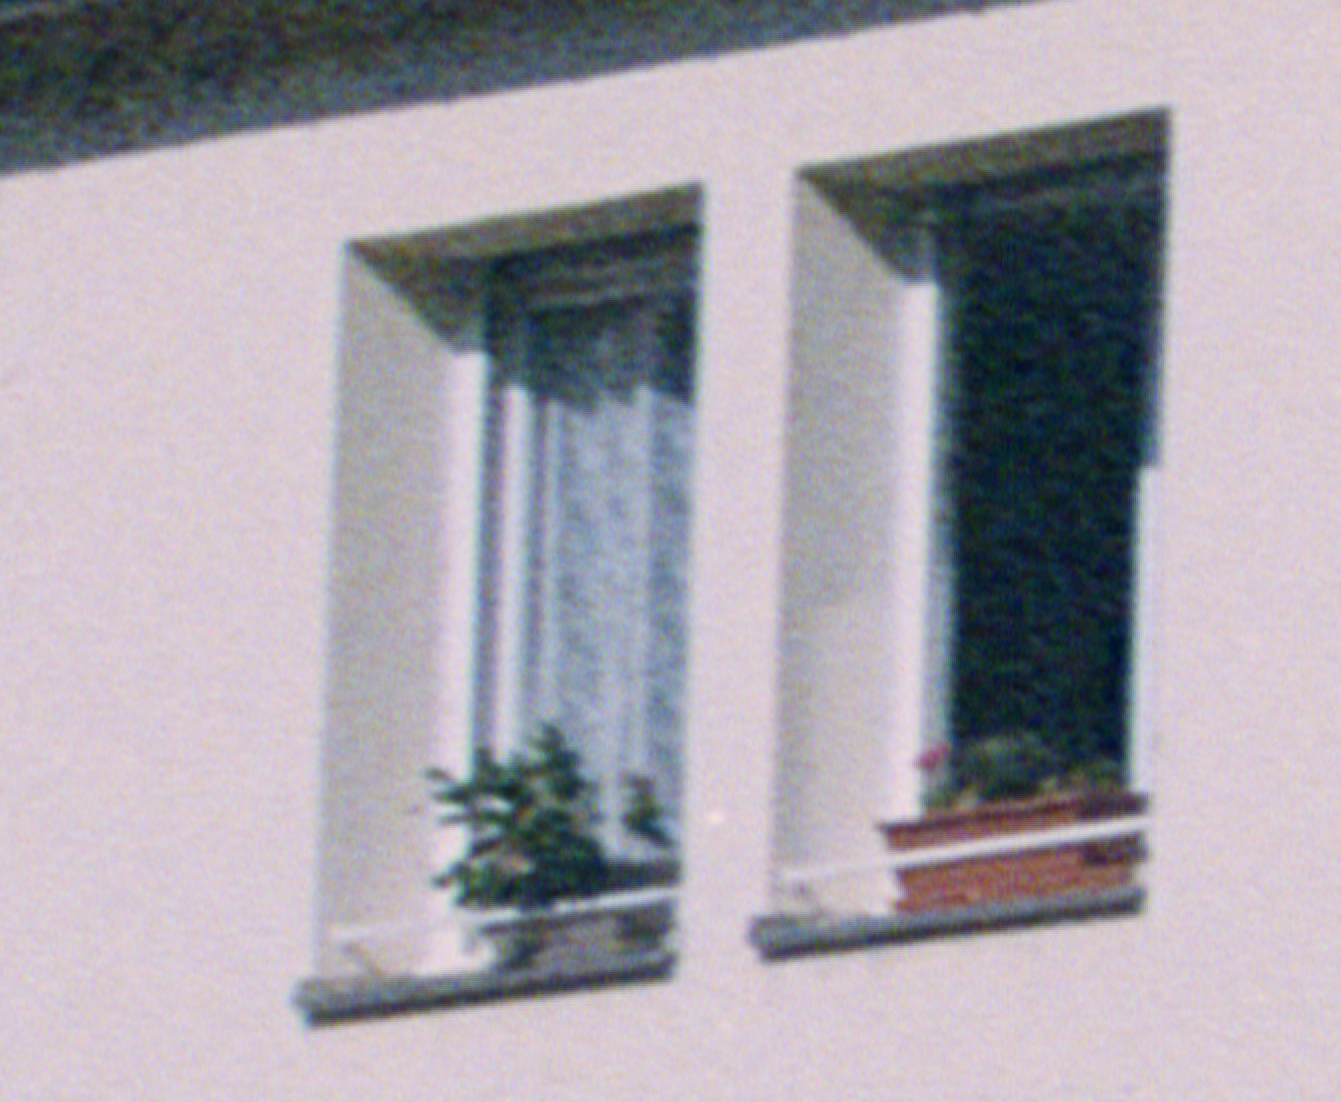
The next step is aligning those RGB layers. Here I wish PS had some elastic grid deformation alignment tool... But the auto-align layers function works quite well. I could also do it by hand. When it's done the image can be flattened and I repeat the same process on the 3 remaining scans.
The next step is aligning those RGB layers. Here I wish PS had some elastic grid deformation alignment tool... But the auto-align layers function works quite well. I could also do it by hand. When it's done the image can be flattened and I repeat the same process on the 3 remaining scans.
In the end I have 4 big images that I can import as layers in PS.
These 4 layers need to be aligned, converted in a smart object, stack mode set to median, and then rasterized. I apply some light smart sharpen on the rasterized output (150%, 4 pixels, remove Gaussian blur, shadows and highlights 50%, 50%, 8 pixels)
These 4 layers need to be aligned, converted in a smart object, stack mode set to median, and then rasterized. I apply some light smart sharpen on the rasterized output (150%, 4 pixels, remove Gaussian blur, shadows and highlights 50%, 50%, 8 pixels)
That is already much better, but keep in mind it is a 400% upscale. It has to be downscaled back (25% bicubic sharper).
I then used topaz denoise (low light mode, remove noise 15, sharpen 15.
Comparing that process to the original 2400DPI scan!
To be fair, I had to correct the RGB channels alignments on the original 2400DPI scan, and apply the same topaz denoise filter.
To be fair, I had to correct the RGB channels alignments on the original 2400DPI scan, and apply the same topaz denoise filter.
2400DPI scan, CA corrected, Topaz denoise.

4 4800 dpi scans, CA corrected, stacked aligned, topaz denoise
This is quite a simple process, and there is huge room for experimentation and improvements.
Anyways, as it is, it's easy, and the result is definitely better than the 2400DPI scan.
Anyways, as it is, it's easy, and the result is definitely better than the 2400DPI scan.
I tested with up to 8 scans, with mixed results when using photoshop only: the problem here is the very basic PS alignment that can not take into account the speed variation of the scan chariot. With elastic grid deformation, it is noticeably better. I could actually scan a quite hazy photo at the equivalent 2900DPI, resulting in a 11MP image with quite good details and conservation of the original film grain.